Create & Publish an Event
This guide covers how to create an event, configure key details (time, location, links, content sections), and publish it so attendees can access the public event page.
Fields and actions may vary by organization configuration and role permissions.
Where to start
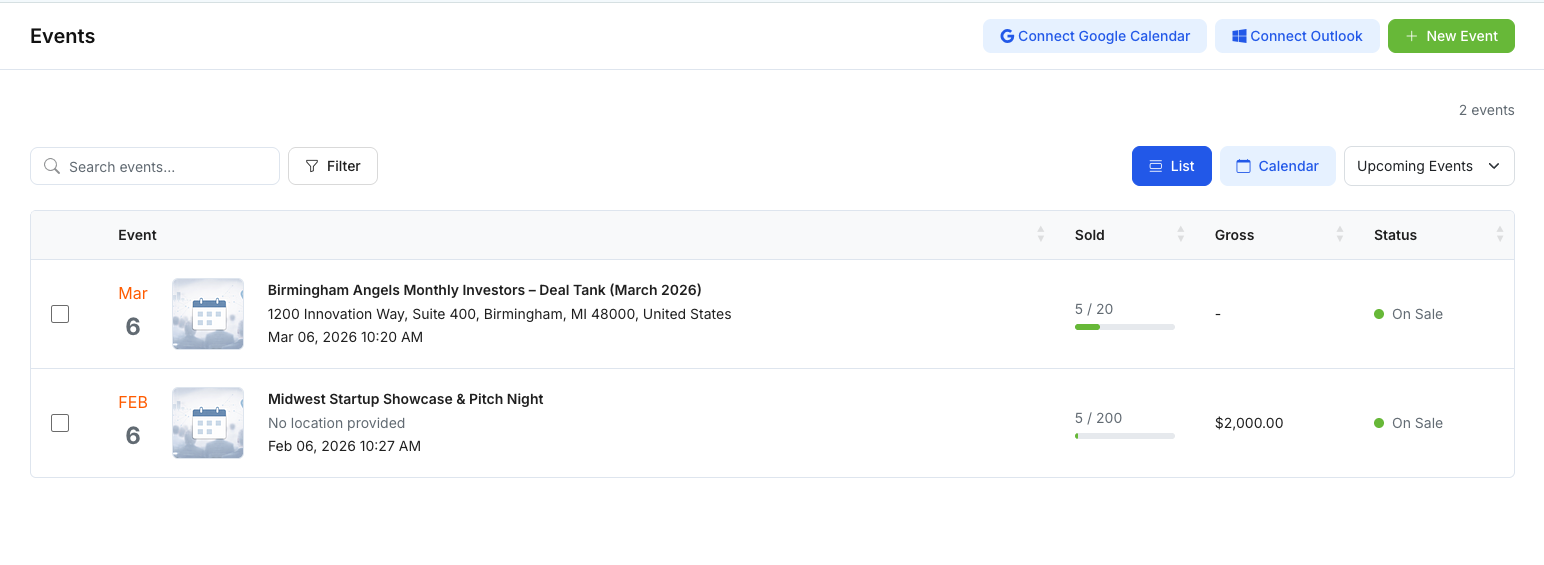
Go to Events and click New Event.
Step 1 — Create a new event (basic setup)
On the Create New Event page, complete the core event information:
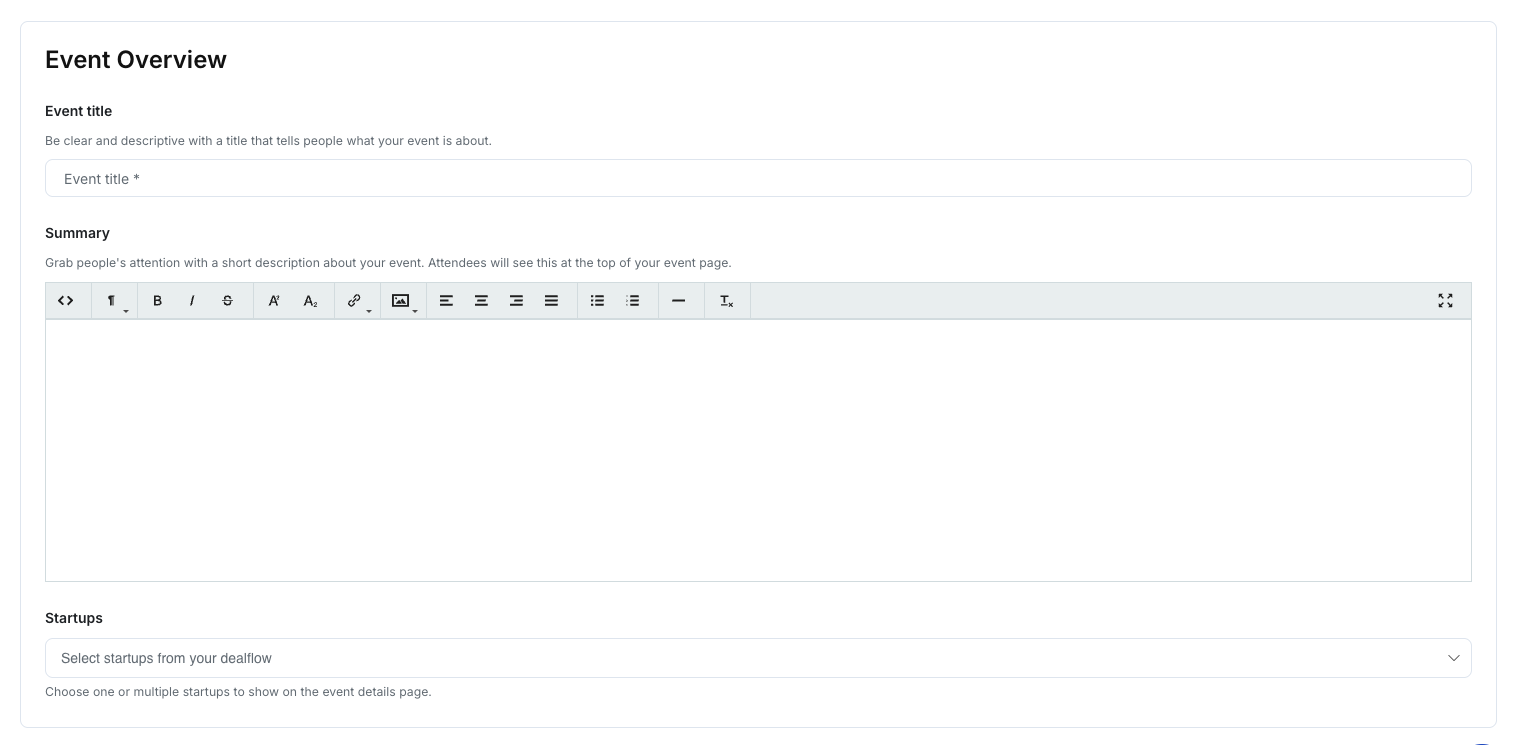
1) Event Overview
- Event Title: Use a clear, searchable name (e.g., “Monthly Investor Deal Tank — Feb 2026”).
- Summary: Add a short description (agenda context, audience, what attendees should expect).
- Startups (if shown): Optionally select startups to display on the public event page (for demo days/pitch events).
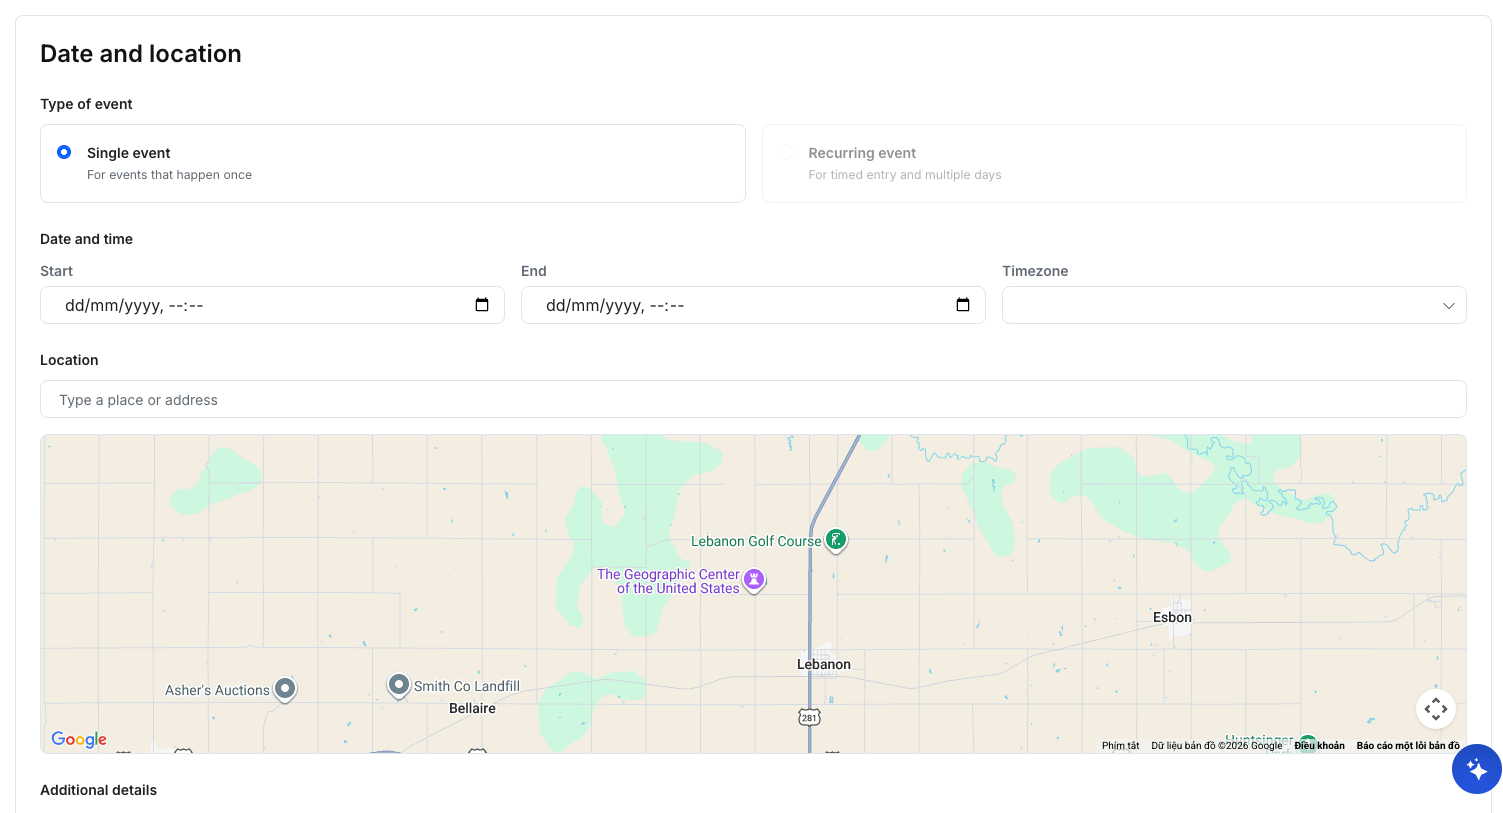
Step 2 — Set date, time, and location
In Date and location, set:
1) Event type
- Single event: One-time event.
- Recurring event: Repeats on a schedule (if enabled).
2) Date and time
- Set Start and End time carefully.
- Confirm timezone behavior (some setups display timezone explicitly; others rely on organization defaults).
3) Location
- If in-person: enter the venue address (map may appear).
- If online/hybrid: ensure your meeting/registration links are captured (see Step 3).
Step 3 — Add operational links (meeting and registration)
If your event is online or requires registration, add:
- Meeting URL (Zoom/Google Meet/etc.)
- Registration URL (Eventbrite/Form/etc.)
If your UI includes a dedicated “Additional fields” or “Links” area, place URLs there. If not, include them in the event description or an “Overview” section so attendees can find them.
Step 4 — Build the event page content (sections)
Many events support flexible sections used to create a rich public event page.
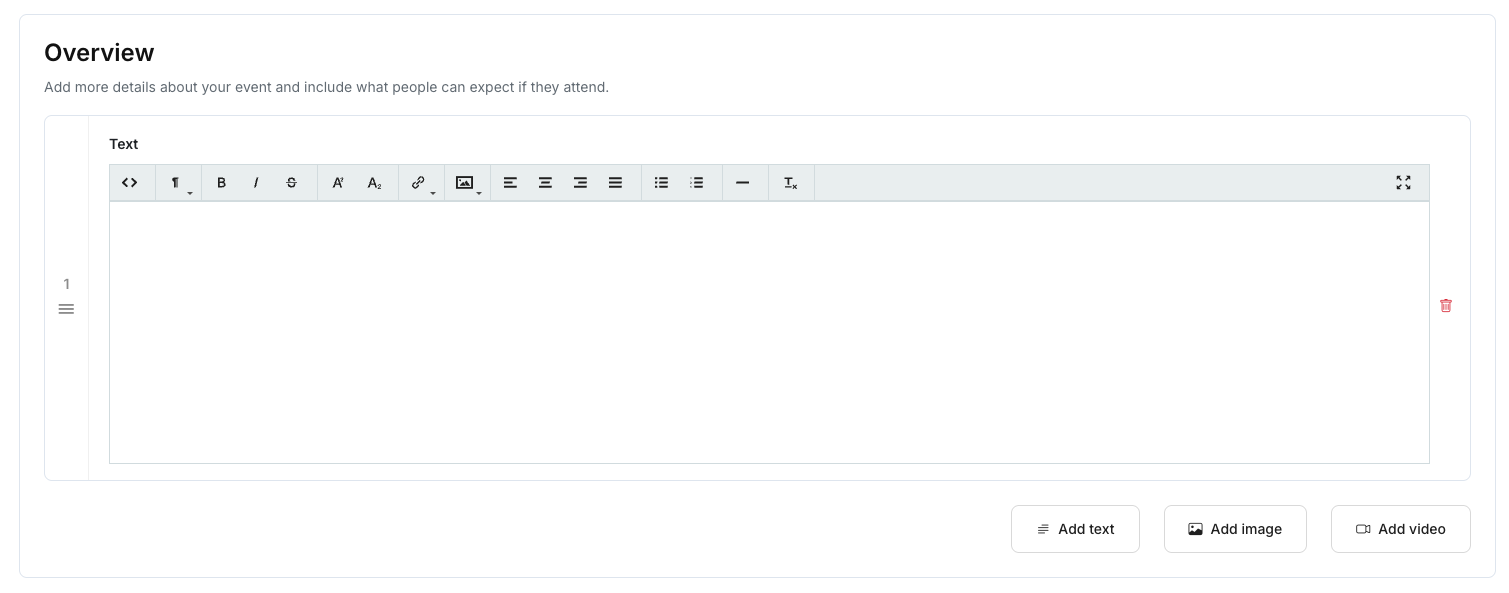
1) Overview section
Use this area to add formatted content:
- Text blocks (details, speakers, expectations)
- Image blocks (banner images, instructions)
- Video blocks (embedded link or hosted video, depending on configuration)
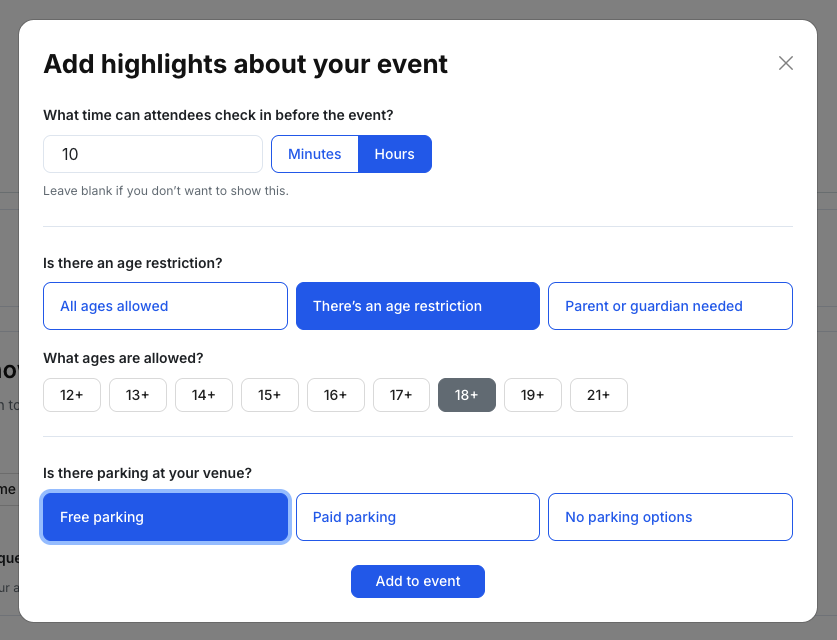
2) Good to know (Highlights)
Use Highlights to add attendee-facing details such as:
- Door/check-in time (e.g., allow check-in X minutes before start)
- Age restrictions
- Parking information
3) FAQ (Frequently asked questions)
Add common attendee questions and concise answers (e.g., parking, arrival time, recording policy).
4) Sponsors (optional)
If enabled, upload sponsor logos. This typically appears on the public event page as a grid.
Use square/consistent logo sizes for a clean layout. Prefer high-resolution images and avoid transparent logos with low contrast.
5) Post-event survey (optional)
If enabled, choose a survey template to collect feedback after the event.
6) Agenda (recommended)
Add agenda items with:
- Title
- Start time / End time
- Optional location and description
Step 5 — Create and publish
Create (save)
When the form is complete, click Create event (or Save) to create the event record.
Publish (make it public)
After creating the event, publish it using your organization’s publishing controls. Depending on your setup, this may look like:
- Setting a Status such as On Sale / Published
- Clicking a Publish action in the event workspace
If your Events list shows a public-facing status (e.g., “On Sale”), that is a good indicator the event is published and visible.
Verify your event (recommended checklist)
Before sharing the event broadly:
- Confirm title, date/time, and any timezone behavior
- Confirm location (in-person) or Meeting URL (online)
- Confirm Registration URL and CTA behavior
- Review agenda ordering and start/end times
- Confirm sponsor logos render correctly