Teams
Teams is where your organization manages internal team members who can access and operate within the investor workspace. Use it to keep staff records up to date, assign roles, and maintain contact details in one place.
What Teams is used for
Use Teams to:
- Maintain a roster of internal users (partners, managers, ops, analysts, etc.)
- Assign roles that control what each person can see/do
- Store contact details (email, phone, LinkedIn) for quick reference
- Track active status (who is currently active in the organization)
- Support collaboration by ensuring the right people have access
Available actions may vary based on your role permissions.
Teams list (at a glance)
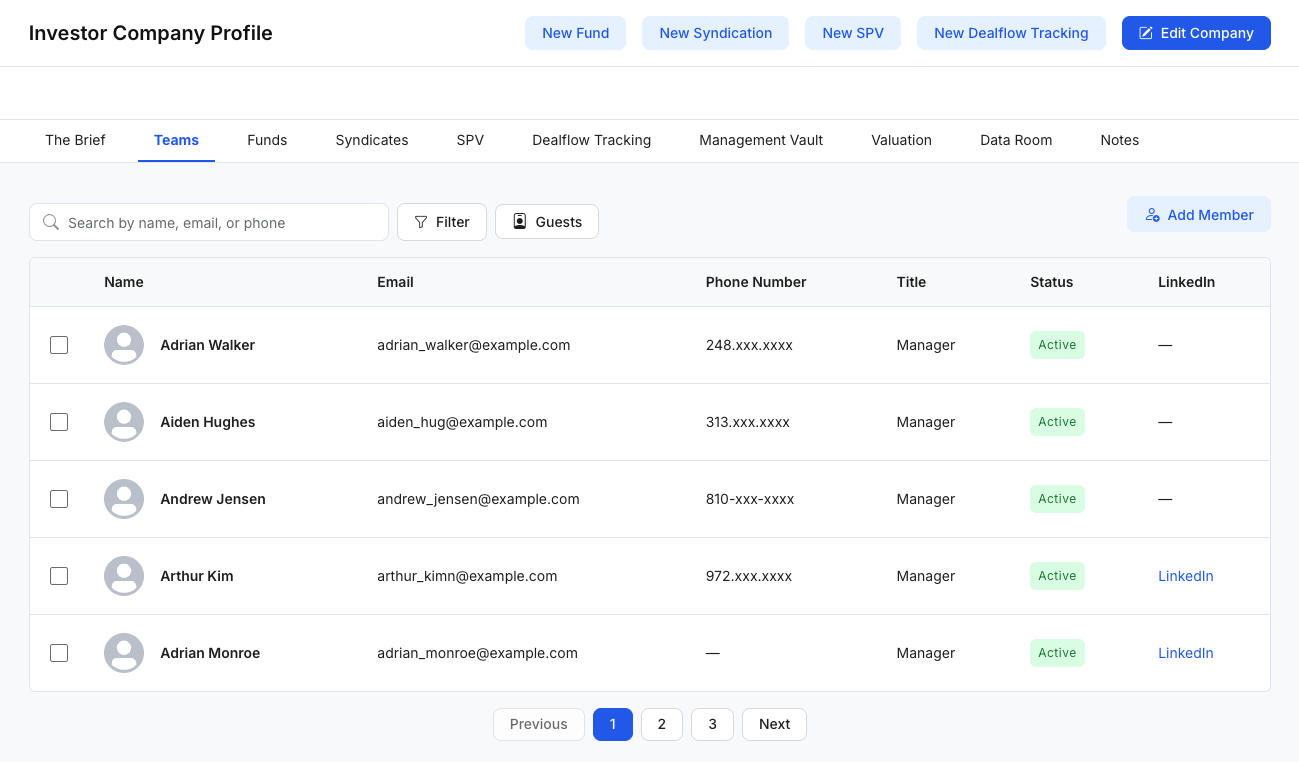
The Teams page shows a table of team members with common columns such as:
- Name
- Phone Number
- Title
- Status (e.g., Active)
- LinkedIn (link, if provided)
Common tools on the page
- Search: Find members by name, email, or phone.
- Filter: Narrow the list based on available criteria (depends on configuration).
- Guests (if enabled): View or manage guest-type entries (implementation may vary).
- Pagination: Navigate between pages (Previous / Next).
Add a Team Member
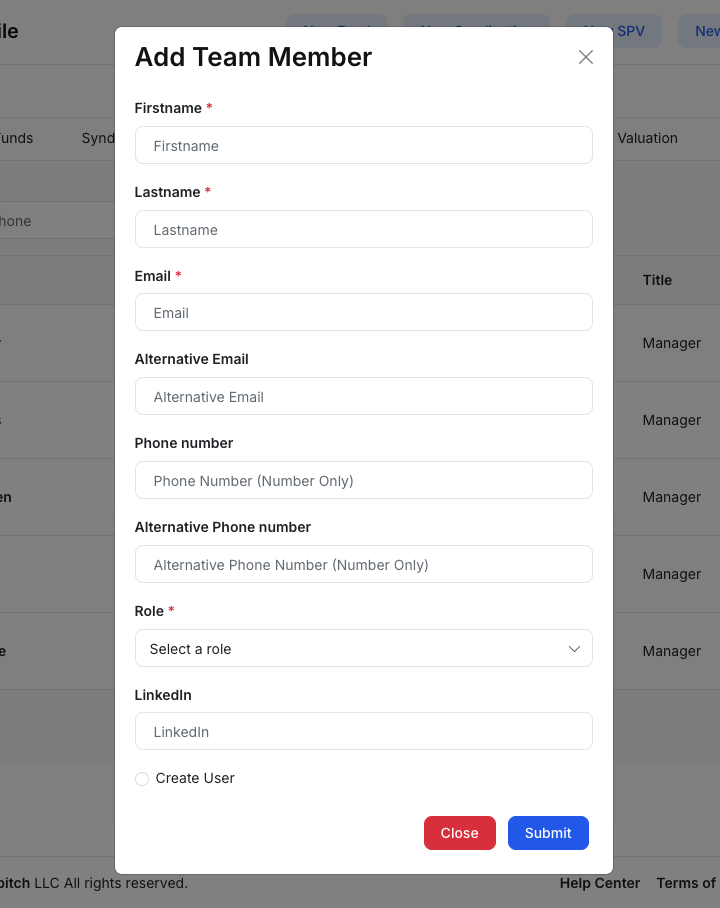
Click Add Member to open the Add Team Member modal.
Fields you may need to fill
Required fields are typically marked with an asterisk (*):
- Firstname*
- Lastname*
- Email*
- Alternative Email (optional)
- Phone number (optional)
- Alternative Phone number (optional)
- Role* (select a role from the dropdown)
- LinkedIn (optional)
Optional setting
- Create User (checkbox, if enabled): Creates a user account associated with this team member so they can log in (exact behavior depends on your organization’s setup).
Actions
- Submit: Saves the team member.
- Close: Exits without saving.
After saving, the member appears in the Teams list and will reflect the assigned role/status rules.
Suggested workflow (simple)
- Use Search to confirm the person doesn’t already exist.
- Click Add Member and enter name + email.
- Select the correct Role to control access.
- Add phone/LinkedIn if you want richer contact info.
- Save, then confirm the member appears with the correct Status.